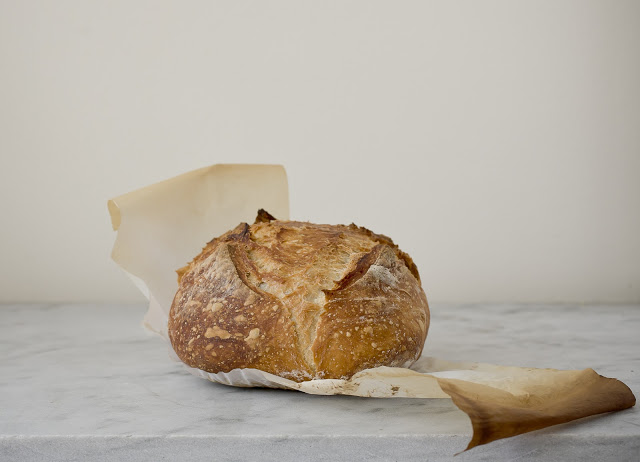
Outside the world is coated in snow, but I’ve been living in a flour dusted apartment for over a week now- and I think you’ll be glad that I did. What fun I have had making this ridiculously easy and wildly famous No Knead Bread.
The recipe made its debut in 2006 in Mark Bittman’s, The Minimalist column in the NY Times. I tore out the recipe from that printing, and it kicked around my office for years. From time to time I would look at it and think that I should give it a try, but never did. When I moved last year it got lost in the shuffle, but I never forgot the idea.
It has been a long standing tradition of mine to bake bread in the early part of the year. It’s hard to explain why, but it’s somewhere in the “monarch butterfly migration” part of my brain. Without thought or plan, I find myself reaching for yeast every January and February. There is no explaining it, it just seems to happen.
Over the years I’ve done quite a bit of perfecting and experimenting of different methods and recipes. My favorite method has always been to make a poolish first, which makes a gorgeous, chewy bread with a crispy crust. My only complaint is it’s a long project that requires a lot of tending. A great thing for a snow bound weekend, such as this one, but for practical reasons it’s tough to make as a regular habit. For some reason, the latent memory of this recipe came back to mind last week, and I went on a search for it. Happily it was not hard to find.
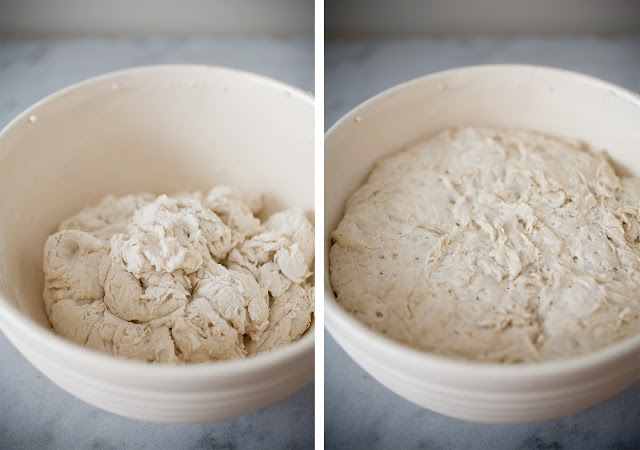
The only similarity between the two methods is that no knead recipe takes as many hours on the clock, but with so little hands on involvement, it’s almost comical. To make this bread all it takes is measuring out the ingredients, mixing them with a SPOON, letting the mess rest for 12-24 hours, shaping it, and baking it! The result is a bread that is so gorgeous and delicious which, after I stop laughing in delight, I found myself sniggering while looking the window of an artisanal bread bakery yesterday. “Pfft!”, I thought, “I can do that!” Shame on me for sure, but it’s hard not to get a little cocky!
This recipe is the brainchild of Jim Lahey, of Sullivan Street Bakery, who devised the recipe as a minimalist technique to bread baking, that anyone could make. The magic to this beauty is in the science. The recipe uses very little yeast, and the water content is very high. Another big difference is that the proofing time is extremely long and slow. Apparently the wetness of the dough, and the long rising time, allows the gluten molecules to align themselves into long strands, creating elasticity, thus eliminating the necessity to do laborious kneading to develop those strands. The high moisture content also creates a beautiful crackly, crust by providing steam from its own moisture during the baking process.
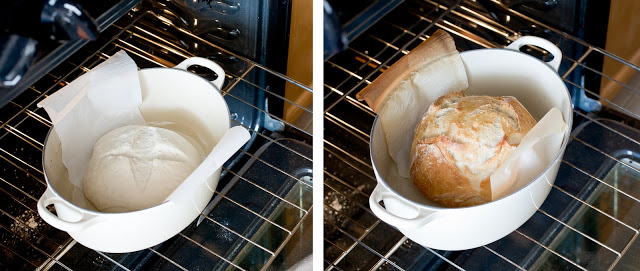
The other difference is the bread is baked in a preheated enamel pot within the oven, which creates an environment for the steam to circulate within, developing that crunchy crust. In professional bakeries they manage this step with built in steam jets, or some people have been known to spray the bread during the baking with water, (raising hand), which is a bit scary as the steam kicks back in your face, while quite a bit of heat dumps out of the oven and into the kitchen. I’ve never been a fan.
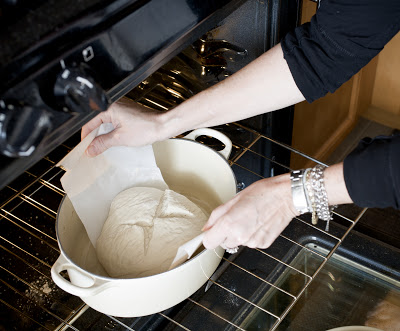
The pot I used is a 5 Quart oval Le Creuset Dutch Oven, like this one, which I highly recommend. The oval shape allows you to get your hands into the pot on the long ends of the oval when you drop the dough in. I’ve read of other folks that have used cast iron pots, and even glass casseroles, which apparently work fine. If you have a round pot and get antsy about slipping the dough into the raging hot pot, you can use some parchment paper, which functions as a handle when dropping into the pot (as I have demonstrated in the photo below). This step can save you some anxiety, and make moving the dough easier.
You can find the original recipe HERE, but I’ve made a few other tweaks that I will share with you.
Most everything remains the same with two notable exceptions. First off, I don’t use cornmeal on my board when I turn the dough out. I found that a reasonable dusting of flour is just fine. I’ve been making so much bread lately that I now have a pastry cloth that is dedicated to bread making. The cloth is saturated with flour so it is forever stick free. It does not need to be washed. I simply give it a good shake into the sink, and then store it in a plastic bag when not in use.
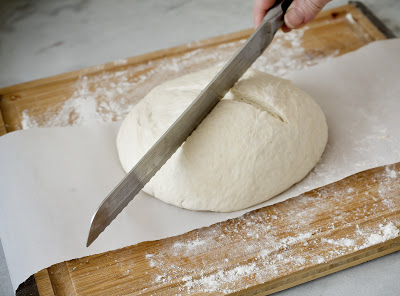
The second tweak, as I mentioned, is I have taken to making cuts in the top of my bread, which assists the rise and I think looks nice. Without the cuts I find that the bread will get great cracks, a beautiful rustic look that you might enjoy. Making the cuts assist in the “baking bump” or the rise during the baking, which also makes a rounder loaf. Without that lift, I found my dough a bit too dense and wet for my taste. A longer baking time will eliminate some of that wetness if you prefer to not make the cuts (another 10-15 mins).
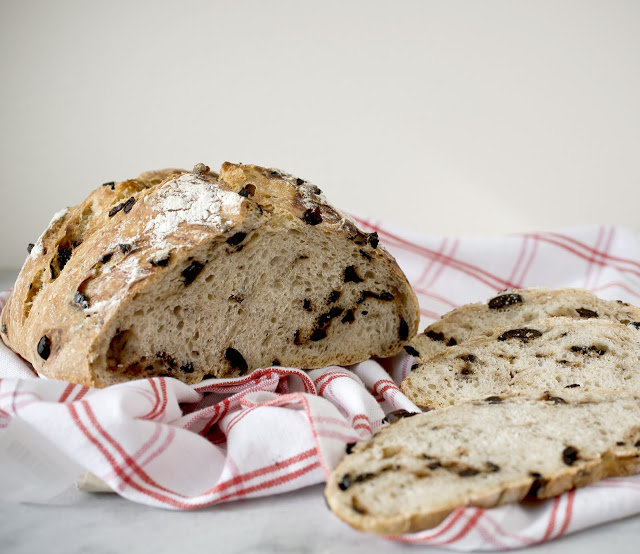
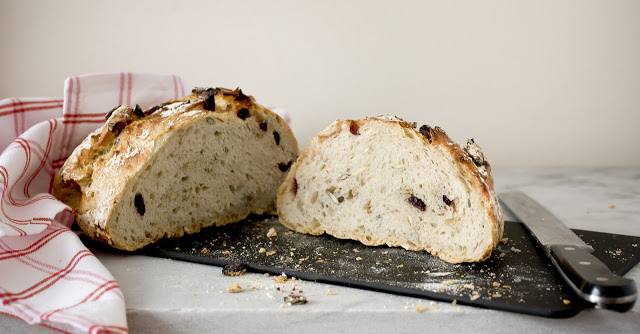
I made quite a few loaves this week, testing and retesting my changes. Very early on, after making just two plain loaves, I decided to throw in a few things for fun. The bread above had a generous handful of chopped black olives and rosemary. The bread below had dried cranberries and pepitas tossed into it. Both turned out beautifully, which opens the door for many other possibilities. I invite you to experiment with your own. I simply added the extras during the last strokes of mixing the dough. Simple as that.
This is one recipe that I really hope that you try. That is, if you’re not already a convert.
I would really LOVE to see what you have done with this recipe. Please comment and post a link to your bread- and please share any insights you may have. I am really interested to hear, and see, what you have done.


