We love making pizza around here, but it’s always the pizza dough that can be such a hang up. For many people there can be a bit of anxiety when it comes to anything yeast made, and with all the kneading and mess making, it’s a total drag when it’s not quite right.
It’s funny that so much fuss can be made over pizza dough. It’s all so simple really, what are we talking about? Flour, water, salt and yeast- maybe a little oil. It’s the same recipe world over, but with a bizillion different outcomes. It’s incredible how with the same ingredients one crust can be chewy, another lofty and light-and another plain old flat and dead like a tough tile- and they all start from the same place.
Years ago I read Peter Reinhart’s book, American Pie, in which he delves into nuanced detail of the world of pizza making. He takes it so far as to go on a worldwide search to find the perfect crust and balance of sauce and cheese. It’s an incredible read for the foodie that can relate to the ultimate search. It also put Naples high on my lists of places in the world to visit- and solely for the pizza.
Of course there are great arguments as to what constitutes the “best” pizza. In Italy you can get into real Hatfield and McCoy arguments over such things. Me- I prefer a chewy crust with a crunch, more towards the thinner side, and not too oozy with cheese. But then there are the days that I like the olive oily thicker crust with texture and density. It’s all so good really, how could you draw lines? Though I can tell you this- dry, cracker like crust is not my thang. This I know- and it has to have salt. I dread the hard, blah, plank. Pluh!
But what I really wanted to share with you here is a super easy, and in my experience, fool proof method of making a yummy crust- AND how to get a nice crunchy crust without having to pull a muscle dragging out the pizza stone.
If you’ve read my past post on No Knead Bread, you should know by now that I all about the concept of not kneading my breads to death (or burning out my KitchenAid…). Yeah, this is going to take a little forethought, but work with me here- it’ll be worth it.
I start by preparing the dough the night before using the no knead method with a little extra flour to give it density. This means that in the midst of my dinner making, I simply pull down a bowl, combine the ingredients and then set them aside until the following morning. I’m already in the midst of making a mess, so no big deal.
After leaving it on the counter over night, in the morning I stick the dough in the fridge until I’m ready for it that evening. The cold slows down the rising and keeps it in a holding pattern until I am ready for it.
The wonderful thing about refrigerated dough is, should decide I that I don’t feel like pizza that night, I just punch it down a bit and cover it back up until the next day- in fact- that makes and even BETTER crust.
When I am ready for it, I simply remove the pizza dough from the fridge, divide it into equal sections, and while it’s still cool pat out the rounds. Then I pile them up with my favorite cheeses, vegetables and meats and then turn on the oven. I let the oven take a good 30 mins to warm up and so will the dough.
Getting a crispy crust to me is the supreme goal when making pizza. I tried using terra cotta tiles from HomeDepot, which worked wonderfully until they started to crack. No detriment to the pizza, but even after cobbling them back together a few times, eventually they had to be tossed. Instead I rely on either my cast iron frying pan or my cast iron grill pan. The heat conduction in the iron is great- it doesn’t have the water drawing out capabilities of stone, but it’s close enough for the midweek pizza night.
Of course this will limit the size of the pie- but I prefer handling personal sized pies anyway- more room for creativity, and less wieldy getting them in and out of the oven.
Enjoy!
Until the next time…


- 3 1/2 cups all purpose flour
- 1/2 teaspoon yeast
- 1 teaspoon salt
- 1 1/2 cups warm water
- 1 Tablespoon olive oil, divided
- 1 1/2 cups part skim ricotta
- 2 cloves garlic, minced
- 1 large baking potato
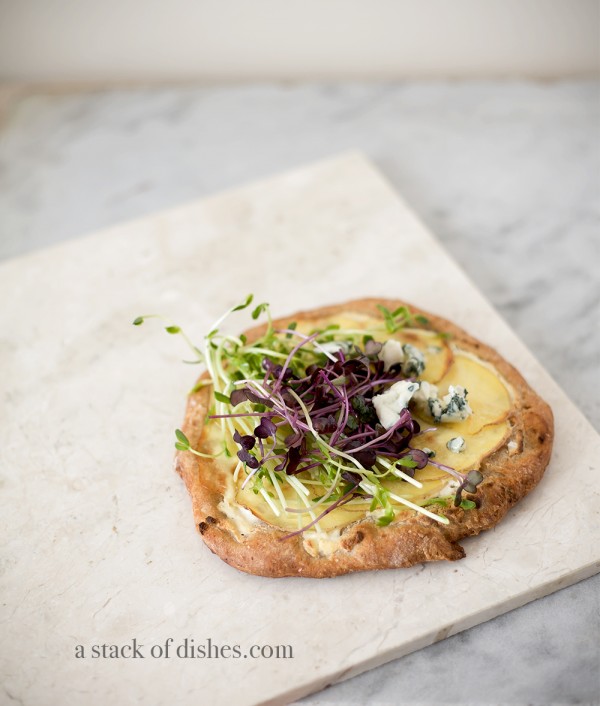
- 2 ounces blue cheese
- 2 cups radish sprouts
- 2Tablespoons vinaigrette dressing
- 1 Tablespoon olive oil, divided
- 1 1/2 cups part skim ricotta
- 2 cloves garlic, minced
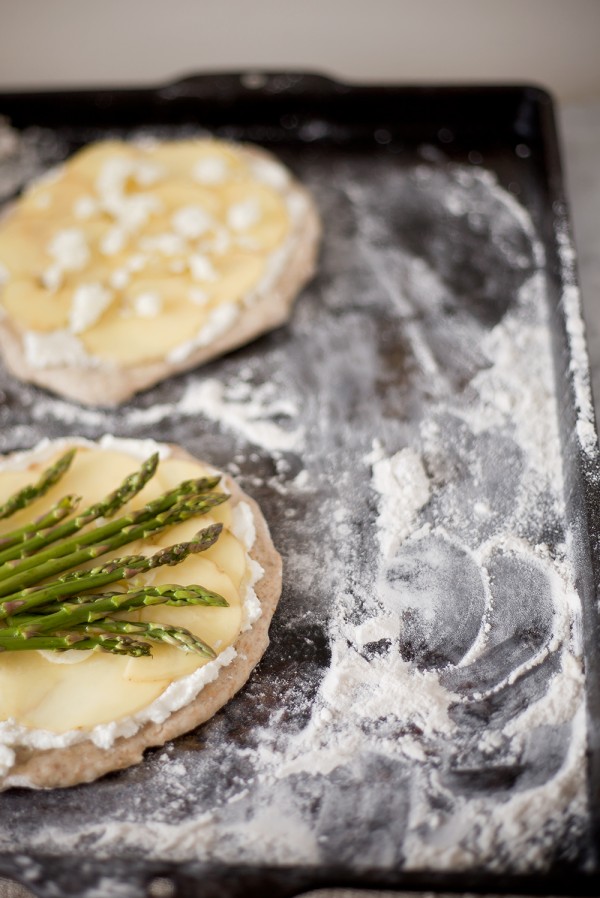
- 1/2 pound asparagus spears
- 2 cups arugula
- 1/4 red onion, thinly sliced
- 2 Tablespoons vinaigrette dressing
- The night before preparing the pizza, combine all the ingredients for the dough in a large bowl and stir to combine. It will make a shaggy dough, similar to a scone dough. It will be hard to stir.
- Cover with plastic wrap and set on the counter overnight to rise.
- In the morning transfer to the refrigerator until ready to use.
- May be made 2-3 days in advance and kept in the fridge.
- Remove the dough from the fridge and divide into 6 equal portions.
- Preheat oven at highest temperature possible- 550 degrees or better. If using a stone or cast iron pan, preheat as well.
- With your fingertips pat out the dough into rounds. If planning on transferring to a pizza stone, line working table with cornmeal to facilitate sliding onto the stone or cast iron pan.
- Brush the olive oil over the top of the dough.
- Combine the ricotta and garlic, divide evenly between the crusts and spread evenly.
- Slice potatoes finely, preferably on a mandoline, and arrange on top of ricotta layer.
- If adding asparagus, do so on top of the pizza.
- Bake the pizzas in the bottom third of the oven until the crust is golden brown and the potatoes have browned on the edges. Approximately 15-20 minutes, depending on your oven.
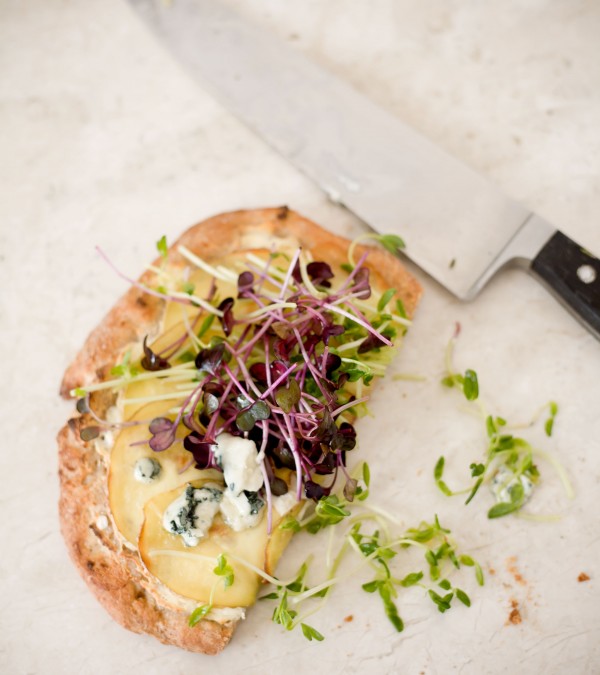
- Dress the greens and place on top and add the blue cheese.
- Serve immediately.
- You may bake your pizza on a baking sheet. The crust won't be as crunchy compared to baking on a stone of the iron, but it will work just fine.
- If making pizza to enjoy another day, slightly undertake, or until the crust is just golden and the potatoes look cooked.




 Marie @ Little Kitchie says
April 12, 2013 at 6:55 amThe toppings on this pizza are PERFECTION. Blue cheese, potatoes, radish sprouts… what’s not to love?!
 Gail Watson says
April 12, 2013 at 8:16 amThanks Marie!
 Phil says
April 12, 2013 at 11:55 amBoth the asparagus and blue cheese potato pie would whet my palate! Great toppings, and very different for pizza.
 Sandra @ Kitchen Apparel says
April 12, 2013 at 2:13 pmI agree that both sound amazing, but I would love to grab a slice of that blue cheese and potato!
 Gail Watson says
April 12, 2013 at 4:39 pmI’ll save you a piece Sandra!
 Happy Valley Chow says
April 12, 2013 at 10:41 pmWow this looks and sounds incredible. Better yet, it’s simple! Great idea 🙂
Happy Blogging!
Happy Valley Chow
 Gail Watson says
April 13, 2013 at 6:37 amThank you! So glad you like it.
 Marta @ What should I eat for breakfast today says
April 13, 2013 at 3:02 amThis pizza is so sweet! Ok, it looks cute. I have a breakfast pizza from time to time, but this one is a must to do.
 Gail Watson says
April 13, 2013 at 6:36 amI love the idea of pizza for breakfast!Ejoy!
 shriya says
April 14, 2013 at 2:14 amthanks fir this lovely and inspiring dish I love it
and its wonderful
visit http://www.suwwa.com
for the tech world news
 Elizabeth says
April 15, 2013 at 11:00 amOh my goodness, this pizza looks amazing. I never have the forethought to make my pizza dough ahead of time, but your pizza looks so tasty I’m definitely going to have to try it!
 Gail Watson says
April 15, 2013 at 11:34 amThank you Elizabeth- A big compliment coming from you! Yeah, remembering to make the dough ahead is the only thing- but like I said, if you don’t get around to it right away, it will keep for a few days. I have some in my freezer too. At least you don’t have to knead yourself into exhaustion:)